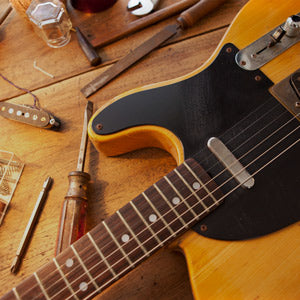
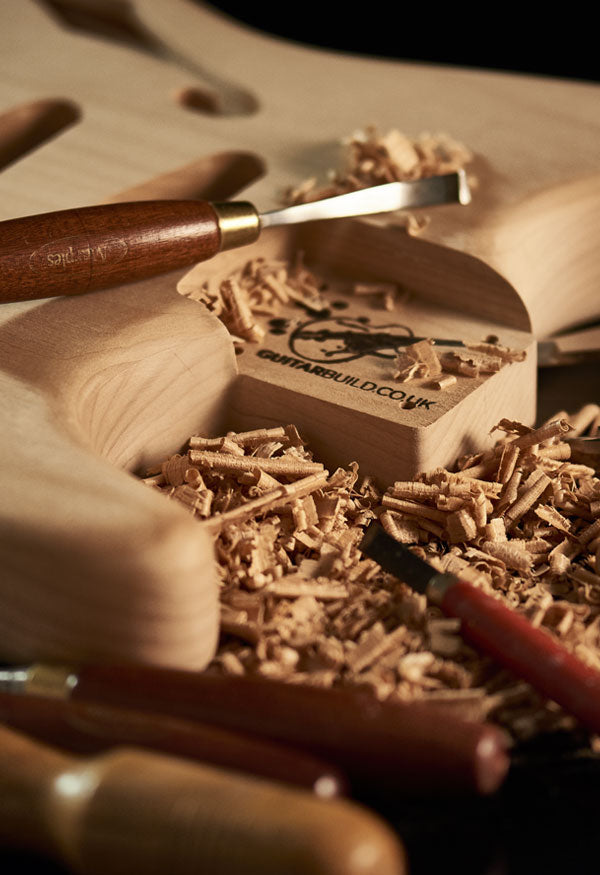
I took the rare opportunity of finishing two sunburst Stratocasters with the mysterious Over the Pond Guy. You have probably heard about his hand wound pickups, or possibly, you have been lucky enough to own one of his equally well known accurate Les Paul replicas.
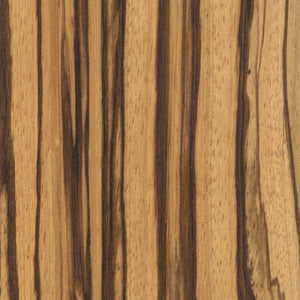
We are using a Vintage spec 1956 body and a 1960’s body. First off we grain filled the bodies which we don’t describe as it’s been covered many times before on the internet I was more interested in the actual colours and techniques used by Fender from 1954, which is when they first started doing a sunburst finish.
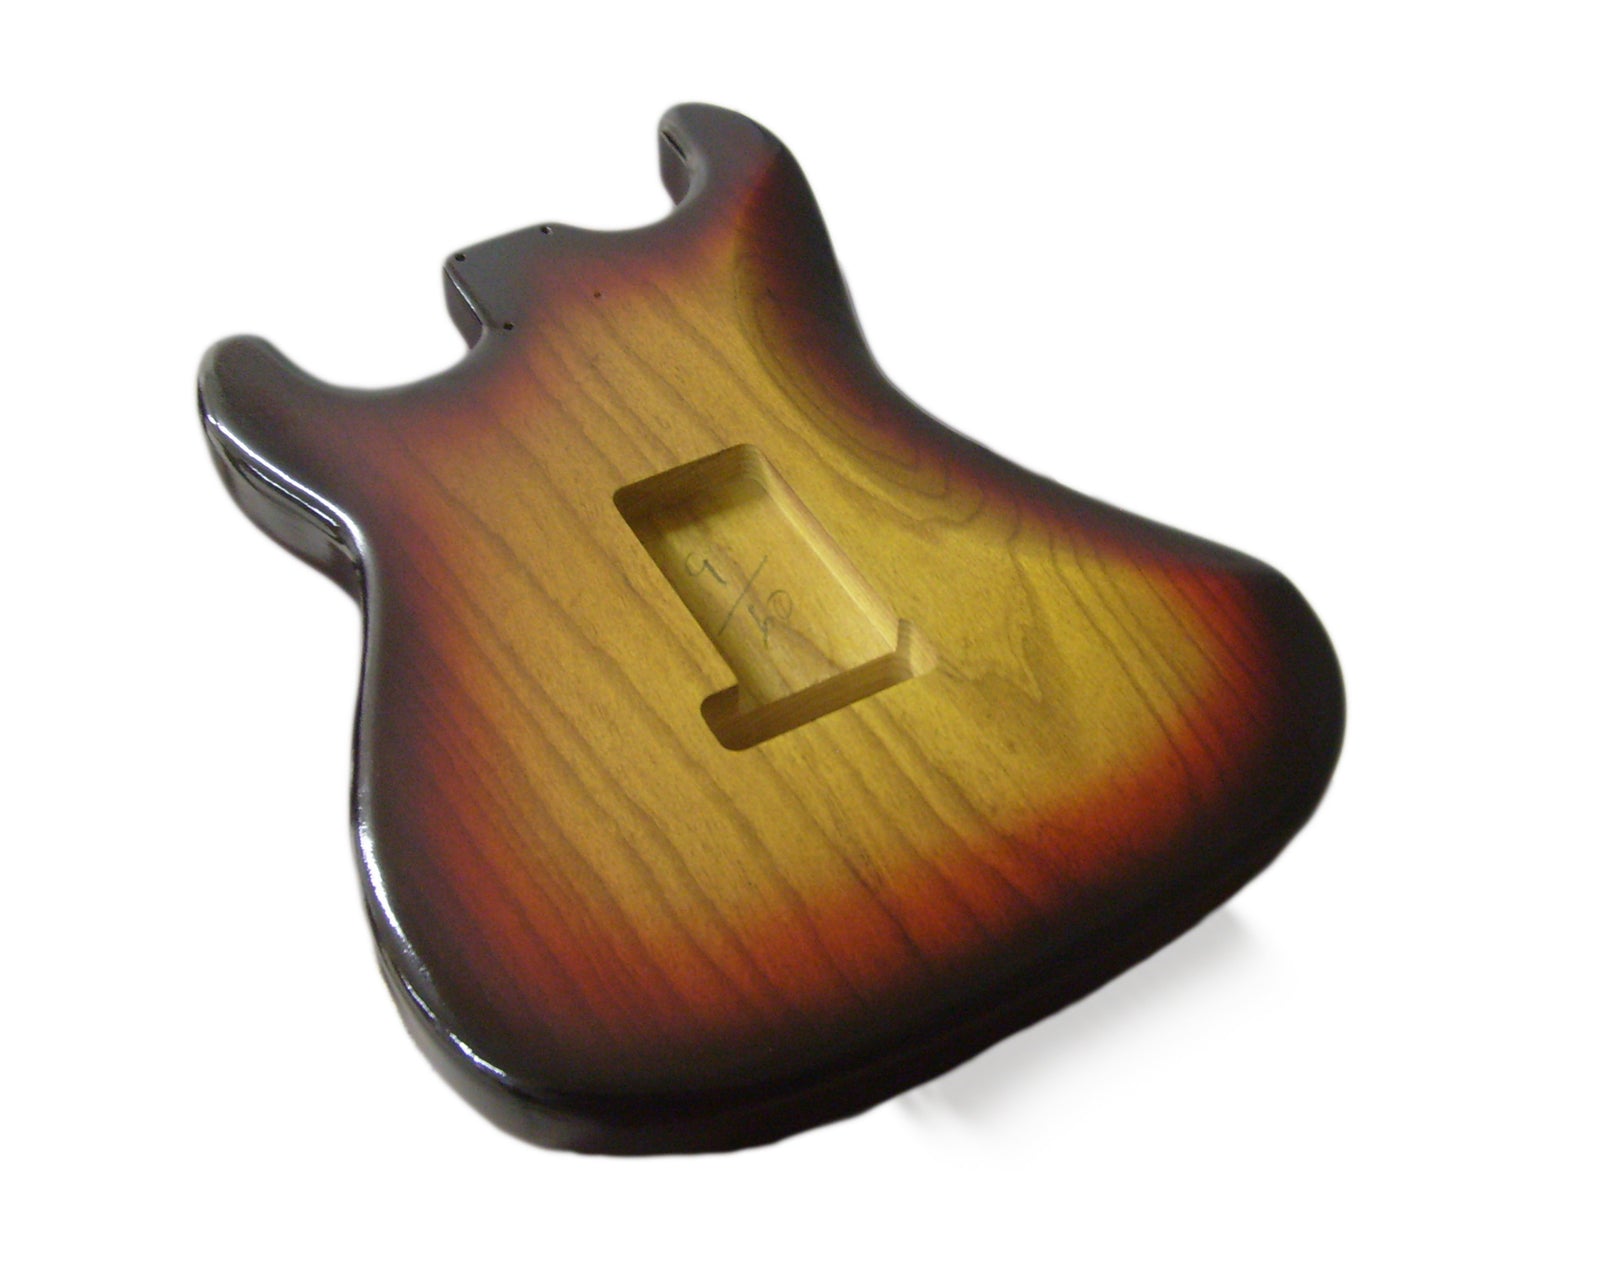
The 1956 body was finished in a two tone sunburst and the 1960’s body in a three tone sunburst. I’m not really sure why the 1956 body is called a two tone sunburst as it’s actually three colours! More of that later!
Luckily Over the Pond Guy has some of the original products from the 50’s for an authentic finish. I’m afraid you can’t buy them anymore although I’m told they are originally from Harpers Stain and Lacquer Company, in the USA, although they didn’t manufacture them, they just sold them. He also used yellow aniline stain, red aniline stain, Salem maple stain and dark Salem maple stain and of course clear nitro lacquer.
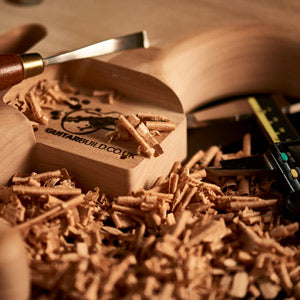
The process after fine sanding and grain filling was to apply the yellow stain which is sprayed on; some people say they were dipped in stain during the 1950’s but examination of many originals reveals that they didn’t start getting dipped until 1964. After the yellow stain I got my camera out and started filming. I was expecting a professional to whip out some high quality spray equipment but oh no, out comes an air brush that cost £10 off eBay including postage! I also thought that such valuable stains would be kept in some quality locking tins but no again he brought them in some old jam jars! Was this to keep some secrets back in his home workshop? I’m not sure but I was assured this is not the case.
After the yellow stain he sprayed around the edges with the normal Salem maple stain shown in the clip below. This finish was built up gently until the desired colour was achieved. This was completed in two coats. I was surprised at how strong the colours used were as I thought it would take more than two coats. Next stage was the red stain which was applied around the edges. This red stain fades over time to give a brown sunburst look, something that can’t be achieved with modern day stains. The dark Salem maple stain comes next round the very edge; many people say the red was applied directly after the yellow stain but this is not the case. On top of the colour coats are four coats of clear nitro after which it is aggressively flattened with 240 grit wet and dry, followed by three thin coats of clear.
1963 brought a couple of changes to combat the fading problem. The red analine stain was replaced by red pigmented lacquer and the yellow stain was also replaced with a yellow pigmented lacquer which is less transparent and allowed the use of alder and poplar timber which would not previously have been suitable for a sunburst finish. These changes led to a much brighter looking finish. Towards the end of 1964 the outside perimeter became blacker; giving the target burst finish for which this era is known.
Here is a little video from this project:
Sign up for offers!
We will send you discount codes & updates. We will never send spam emails or share your details.