Your Cart is Empty
MORE


TONEWOODS
FAQ
CUSTOMER BUILDS
BLOG
ABOUT US


KEVIN LINDSAY - GUITAR PROJECT
This is the fourth guitar I've made using a body from Guitarbuild. Each body has been so well made and the guitars have all played and sounded great.
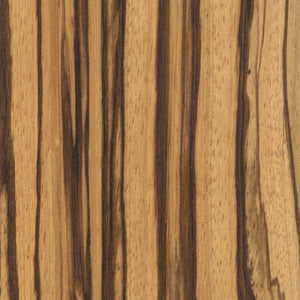
I've always loved the early 50’s style blackguard Telecaster and Nocaster models. So, I ordered one of the Guitarbuild early 50’s specification Tele bodies. This features the oversized neck pocket lip and the router hump in the lower cutaway. I wanted a lightweight body and Guitarbuild used 2 lovely centre jointed prices of light Swamp Ash.
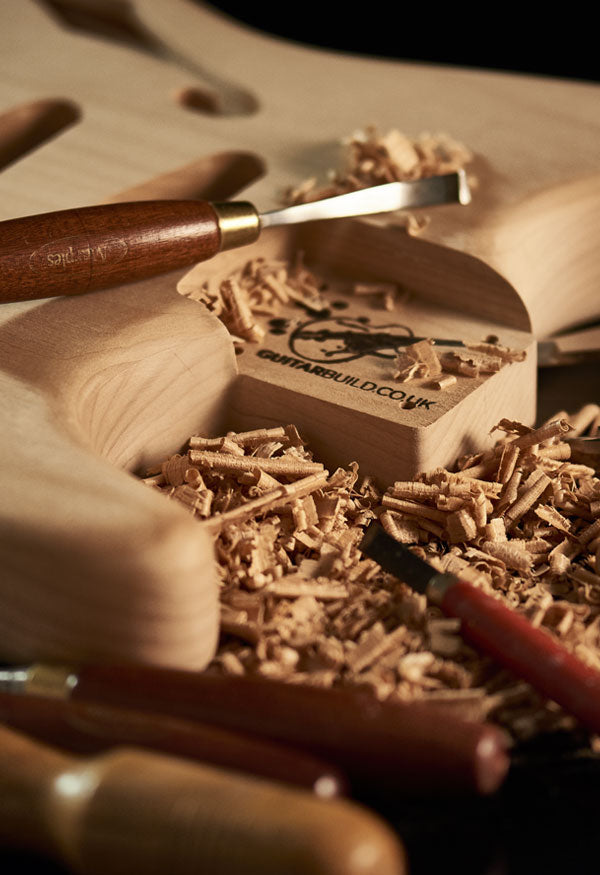
The preparation required prior to applying lacquer was fairly straightforward as Guitarbuild really do a great job of getting the body more or less ready to go before posting them off to their customers. The first step was to mask off the neck pocket before spraying. This ensures that the neck resonates nicely when fitted to the body. Lacquer in the pocket can slightly muffle the sound in my experience. I may be wrong, but it's just something I always do.
I then did some light sanding on the Tele body, then sprayed a couple of light coats of sanding sealer onto the ash. The body soaks up this lacquer as the open grain is pretty "thirsty". However, this initial coat ensures that there is a barrier in the open grain prior to applying the grain filler. If you don't create this barrier, the grain filler will just be absorbed into the open wood, meaning that you'll need to supply it numerous times to fill the open pores.
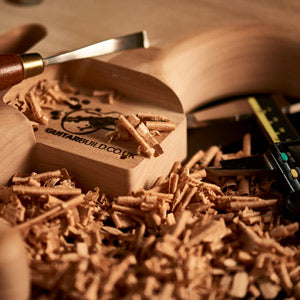
I mixed the filler to the correct consistency, then applied it to the wood. After leaving it for around an hour, I then scraped off the excess using an old credit card. The residue was then left for 24 hours to dry out. You may find that the body requires another application of filler depending upon how the original amount has dried.
You then need to sand the body to a flat finish. Then it's time for another couple of coats of sanding sealer. Once these have been applied, left to dry, and then sanded to a smooth finish using a sanding block, it's time to apply the colour! Incidentally, when you're sanding the front and edges on a Telecaster body, don't sand the corner edges between the top and sides - all you need to do is buff them up once the lacquer has been fully applied.
I wanted to have a semi-transparent finish as used on the early Fender Nocaster - where the colour is obtained from the topcoat ageing to a yellow/amber hue over the translucent white blonde colour coat. I decided not to use tinted lacquer on my guitar as I'm never convinced by the shade. I prefer to let the lacquer on my guitars age naturally over the years. You can see the difference a couple of years makes in the pic of my Tele with its really light coloured neck, compared to my pink P-Bass. The maple on the pink bass neck was originally the same light colour as on the Tele neck.
I applied a couple of coats of white blonde to the body, left them to dry and then lightly sanded them smooth. I then used a couple of coats of butterscotch nitrocellulose lacquer. This is translucent like the white blonde. Once this colour has been applied, it's left to dry and then lightly sanded until smooth.
I then applied a couple of light clear gloss topcoat to the body. I also applied a couple of thin coats of clear gloss to the bare wood of the guitar neck - just enough to seal the wood - and then buffed it to a shine. This thin finish really lets the neck ring out when strummed.
Over the next few years, the clear gloss on the neck and body will slightly darken.
I wanted to get some crazing on the body as I love the look. So, how do you get it? It's actually pretty easy. Once you've sanded the lacquer and buffed it to a mirror like sheen, you simply put the body into your home freezer overnight. Most home freezer compartments can accommodate a Tele or Strat body. For a bass body or similar you'll need to use a chest freezer. It's not enough to put it into a fridge, you need to get the lacquer subjected to below zero Celsius temperatures to get it to craze.
When you take the body out of the freezer, you'll be able to see the crazing if you hold the body up to the light. There's no way to control whether the crazing runs predominantly along the length of the body, or sideways. The lacquer will take its own course.
You can't actually see the crazing very well when it gets back to room temperature, so you need to stain the crazing while the body is cold. I simply used black shoe polish. You run it all over the body as soon as it's out of the freezer. You'll have to slightly heat up the cloth with the polish every now and then as the cold temperature tries to solidify the wax in the shoe polish. Once you've rubbed the shoe polish over the body, you can buff it off using an old cloth. You'll now have a shine your body with the lacquer crazing visible as the shoe polish will have stained the microscopic cracks. It looks great!
For the scratchplate on my Tele I used a period correct fibreboard one. This was sprayed with gloss lacquer just like Fender did in the early 50’s.
For the hardware I used Gotoh tuning heads, round string retainer and a period correct decal on the headstock. Fender Tele bridge plate with compensated saddles. I used shorter height adjustment screws on the outer sides of the saddles - to make it more comfortable when damping the strings at the bridge. Pickups are Fender Custom Shop Twisted Tele units, and the Switchcraft output jack nestles in a period correct milled output jack cup.
The guitar was assembled and set up by Chris Mcintyre (www.mcintyreguitars.com). The end result sounds and plays like a dream.
I've also attached pics of my Guitarbuild bodied guitars - Andy Summers tribute Tele, Shell Pink P-Bass, white Jazz Bass, and my Blackguard Tele.


Leave a comment
Comments will be approved before showing up.